
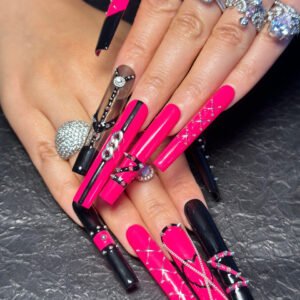
Prepare Your Digits: Begin by gently pushing back your cuticles with a cuticle pusher to create a smooth base. Using a file, lightly buff the surface of your natural digits. This rough texture provides a better grip for the adhesive. Next, take an alcohol pad and thoroughly wipe each digit, removing any oil, dirt, or residue. Clean digits are the key to long-lasting adhesion.
Select Sizes: Finding the perfect fit is crucial. Carefully match each press-on claw to your natural fingertip, ensuring a snug and comfortable fit. If a claw seems a bit too wide or long, don’t worry! Simply file the sides or tip until it fits like a glove.
Apply Adhesive: You have two great options here: glue or adhesive tabs. For glue, apply a small drop on your natural fingertip, spreading it evenly. Then, add a tiny amount to the back of the press-on claw. If using adhesive tabs, peel off the backing and firmly press the tab onto your natural fingertip.
Press and Hold: Align the press-on claw with your cuticle, starting from the base. Press down firmly for 10-15 seconds, applying even pressure across the entire claw. Check for any air bubbles and smooth them out if necessary.
Finish: Once the claw is securely attached, use a file to shape the edges, creating a natural and seamless look. And there you have it—salon-quality claws in just minutes!
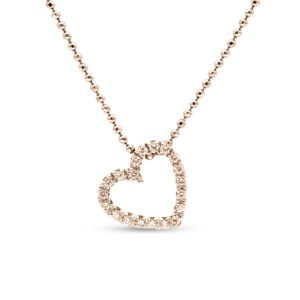
But the perks don’t stop there! When you purchase our exquisite claw armor, you’ll also receive matching accessories to elevate your look and premium packaging to keep your claws safe and stylish. Get ready to turn heads with your gorgeous new digits!
You can follow my social media accounts.https://www.tiktok.com/@charmingglintjewelry?_t=ZP-8wwk3VzwwcY&_r=1
Reviews
There are no reviews yet.